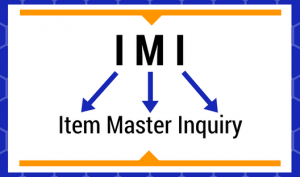
Item Master Inquiry Basics
An important skill to have under your belt is understanding the Item Master Inquiry basics. This is a commonly used window amongst most P21 users. However, with all of the information and complex tabs, it can be very confusing. Even the best and most experienced user may still not understand all of the ways to utilize Item Master Inquiry! In today’s video, we are going to cover the basics of Item Master Inquiry. We’ll discuss what Item Master Inquiry is, basic functions, navigation, and the Criteria tab.
What Is Item Master Inquiry?
Item Master Inquiry is where you can view all of the information on an Item and it’s transactions in one place. This is essentially a hub for information that would normally be spread across P21. Item Master Inquiry is commonly referred to as IMI (which is how I will be referring to it throughout these videos).
Navigating to IMI
While you can navigate to IMI through the common method of using the navigation menu, there are alternate ways. If you are using the desktop version, you can press the F2 function key to quickly bring up the window. Alternately, if you’re on the Web Client, there is a method through the ribbon. All you have to do is open the Application tab from any window and select the “Item” button. There are also a lot of other Master Inquiries you can access from here too. Some of these include Customer and Transaction.
What Would You Like to See?
Do you have a specific tab you would like us to cover? Make sure to let us know on our YouTube channel (linked here). We’ll make sure to prioritize the tab as we make our way through Item Master Inquiry. Make sure to follow us on LinkedIn and subscribe to our YouTube channel so that you don’t miss out on our next Prophet 21 tutorial!
Ready to move beyond the basics? This article goes in-depth into the Inventory and Open Order tabs within Item Master Inquiry.


